 by
by Buying an iPhone 17? How to Prep Your Old Device for Sale and Get the Most Cash
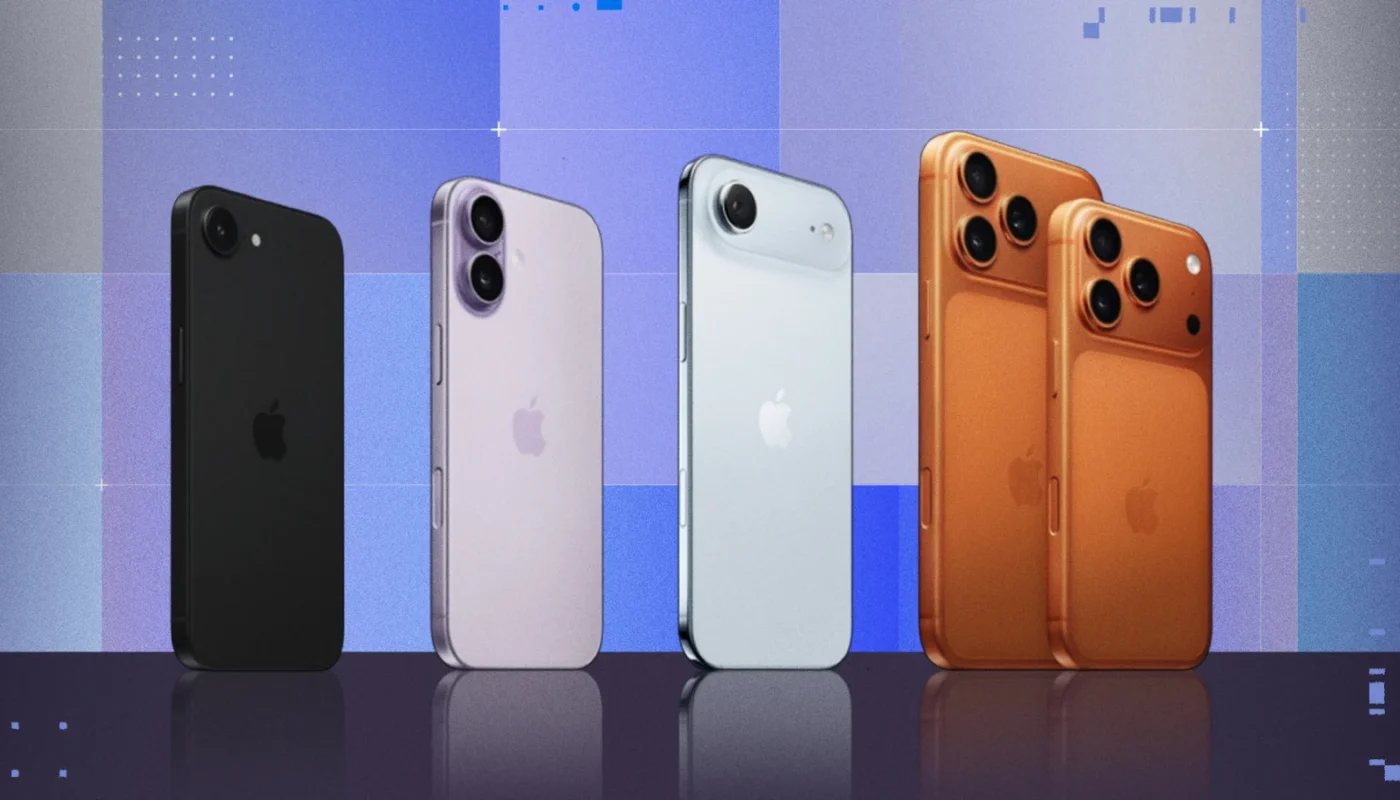
Apple’s iPhone launches are always a big event, and with the iPhone 17 on the horizon, many users are already planning an upgrade. Whether you’re moving from an older iPhone or switching models, one thing is certain: your current iPhone still has value.
If you prepare it correctly, you can:
-
Sell it faster
-
Avoid security and privacy risks
-
Get significantly more cash
But if you rush the process, you could lose money—or worse, expose your personal data.
This complete guide walks you through exactly how to prepare your old iPhone for sale, from backing up your data to cleaning it, timing the sale, and choosing the best place to sell so you can maximize your return before buying the iPhone 17.
📱 Why Preparing Your Old iPhone Matters
Many people underestimate how much preparation affects resale value. Two identical iPhones can sell for very different prices depending on condition, battery health, and how well they’re presented.
Proper preparation helps you:
-
Protect your personal data
-
Avoid iCloud lock issues for buyers
-
Increase buyer trust
-
Justify a higher asking price
Think of it as staging a house before selling—it makes a real difference.
🔄 Step 1: Back Up Everything (Before You Touch Anything Else)
Before selling your iPhone, make sure nothing is lost forever.
Option 1: iCloud Backup
-
Go to Settings → [Your Name] → iCloud → iCloud Backup
-
Turn on Back Up This iPhone
-
Tap Back Up Now
Make sure the backup completes successfully.
Option 2: Computer Backup (Mac or PC)
-
Connect your iPhone via cable
-
Use Finder (macOS) or iTunes (Windows)
-
Choose Back Up Now
-
Encrypt the backup to save passwords and health data
This backup ensures a smooth transfer to your new iPhone 17.
🔐 Step 2: Sign Out of iCloud (This Is Critical)
Failing to sign out of iCloud is the #1 mistake sellers make.
If you don’t do this:
-
The phone remains locked to your Apple ID
-
The buyer can’t activate it
-
Your device becomes nearly worthless
How to sign out properly:
-
Go to Settings
-
Tap your name at the top
-
Scroll down and tap Sign Out
-
Enter your Apple ID password
This also disables Find My iPhone, which is required before selling.
🧹 Step 3: Erase All Content and Settings
Once your data is backed up and iCloud is signed out, it’s time to wipe the phone.
Steps:
-
Go to Settings → General → Transfer or Reset iPhone
-
Tap Erase All Content and Settings
-
Confirm and let the process finish
When done, the phone should restart to the “Hello” setup screen.
That’s exactly what buyers want to see.
🔋 Step 4: Check Battery Health (And Be Honest)
Battery health is one of the first things buyers check.
How to check:
-
Go to Settings → Battery → Battery Health & Charging
What buyers generally expect:
-
90–100%: Excellent, top resale value
-
80–89%: Acceptable, still desirable
-
Below 80%: Value drops noticeably
If battery health is low:
-
Consider replacing it before selling (often increases resale value)
-
Or price the phone realistically and disclose the condition
Honesty builds trust and avoids disputes.
🧼 Step 5: Clean and Inspect Your iPhone
Presentation matters more than you think.
Clean it properly:
-
Use a microfiber cloth
-
Slightly damp cloth for stubborn smudges
-
Toothpick or soft brush for speaker grills
-
Avoid harsh chemicals
Inspect for:
-
Scratches or cracks
-
Camera lens damage
-
Port issues
-
Button responsiveness
Small cosmetic flaws are normal—but hiding them isn’t worth it. Buyers will notice.
📦 Step 6: Gather Accessories (If You Have Them)
Including accessories can boost value and make your listing more attractive.
If you still have:
-
Original box
-
Charging cable
-
Documentation
Mention it clearly. Even if accessories aren’t essential, they signal a well-cared-for device.
💰 Step 7: Choose the Right Time to Sell
Timing plays a huge role in how much cash you get.
Best time to sell:
-
Before Apple officially announces the iPhone 17
Once the announcement happens:
-
Trade-in values drop
-
Secondhand market floods with old iPhones
-
Buyers expect lower prices
Selling early often means $50–$150 more, depending on the model.
🛒 Step 8: Decide Where to Sell
Different platforms offer different trade-offs between speed, safety, and profit.
Option 1: Apple Trade-In
Pros
-
Easy and safe
-
Credit applied directly to new iPhone
Cons
-
Lower payout than private sales
Best if convenience matters more than maximum cash.
Option 2: Online Marketplaces (eBay, Facebook, local platforms)
Pros
-
Highest possible return
-
You control pricing
Cons
-
Requires effort
-
Risk of scams if not careful
Use clear photos, accurate descriptions, and meet in safe locations if selling locally.
Option 3: Buyback Services
Pros
-
Fast payment
-
Minimal effort
Cons
-
Lower offers than private buyers
Good for users who want speed without dealing with buyers.
📝 Step 9: Create a High-Quality Listing
If selling privately, your listing determines how fast—and how well—it sells.
What to include:
-
Exact model (storage, color, carrier status)
-
Battery health percentage
-
Condition (be specific)
-
Whether it’s unlocked
-
Accessories included
Photos matter:
-
Use natural light
-
Show front, back, sides, and ports
-
Highlight flaws honestly
Well-presented listings often sell faster and at higher prices.
🔓 Step 10: Make Sure the Phone Is Unlocked
Unlocked iPhones sell for more.
How to check:
-
Go to Settings → General → About
-
Look for Carrier Lock
-
It should say No SIM restrictions
If locked:
-
Contact your carrier and request an unlock
-
Most carriers allow unlocking after contract completion
This step alone can significantly increase resale value.
🛡️ Step 11: Protect Yourself From Scams
If selling directly:
-
Accept cash or trusted payment methods
-
Avoid shipping unless payment is confirmed
-
Meet in public places
-
Don’t share your Apple ID or verification codes
If something feels off—walk away.
📊 How Much Can You Expect to Get?
Resale value depends on:
-
Model and storage
-
Condition
-
Battery health
-
Timing
Even older iPhones often retain surprising value. That cash can:
-
Reduce the cost of the iPhone 17
-
Pay for accessories
-
Offset AppleCare+
🧠 Bonus Tip: Transfer Data the Smart Way
When your iPhone 17 arrives:
-
Use Quick Start for wireless transfer
-
Or restore from your iCloud/computer backup
This ensures:
-
Apps, settings, and photos return seamlessly
-
No data is left behind
🏁 Final Thoughts: A Little Prep = A Lot More Cash
Upgrading to the iPhone 17 is exciting—but don’t overlook the value sitting in your pocket right now.
By taking the time to:
-
Back up properly
-
Secure your data
-
Clean and present your device
-
Sell at the right time and place
You can turn your old iPhone into maximum cash with minimal stress.
A few smart steps today can easily mean extra money in your pocket tomorrow—money better spent on your shiny new iPhone 17.
If you want, I can also write:
-
“iPhone 17 vs iPhone 16: Is the Upgrade Worth It?”
-
“Best Time of Year to Sell Your Old iPhone”
-
“Trade-In vs Private Sale: Which Gets You More Money?”