 by
by Best iPhone Camera Tips for Stunning Photos
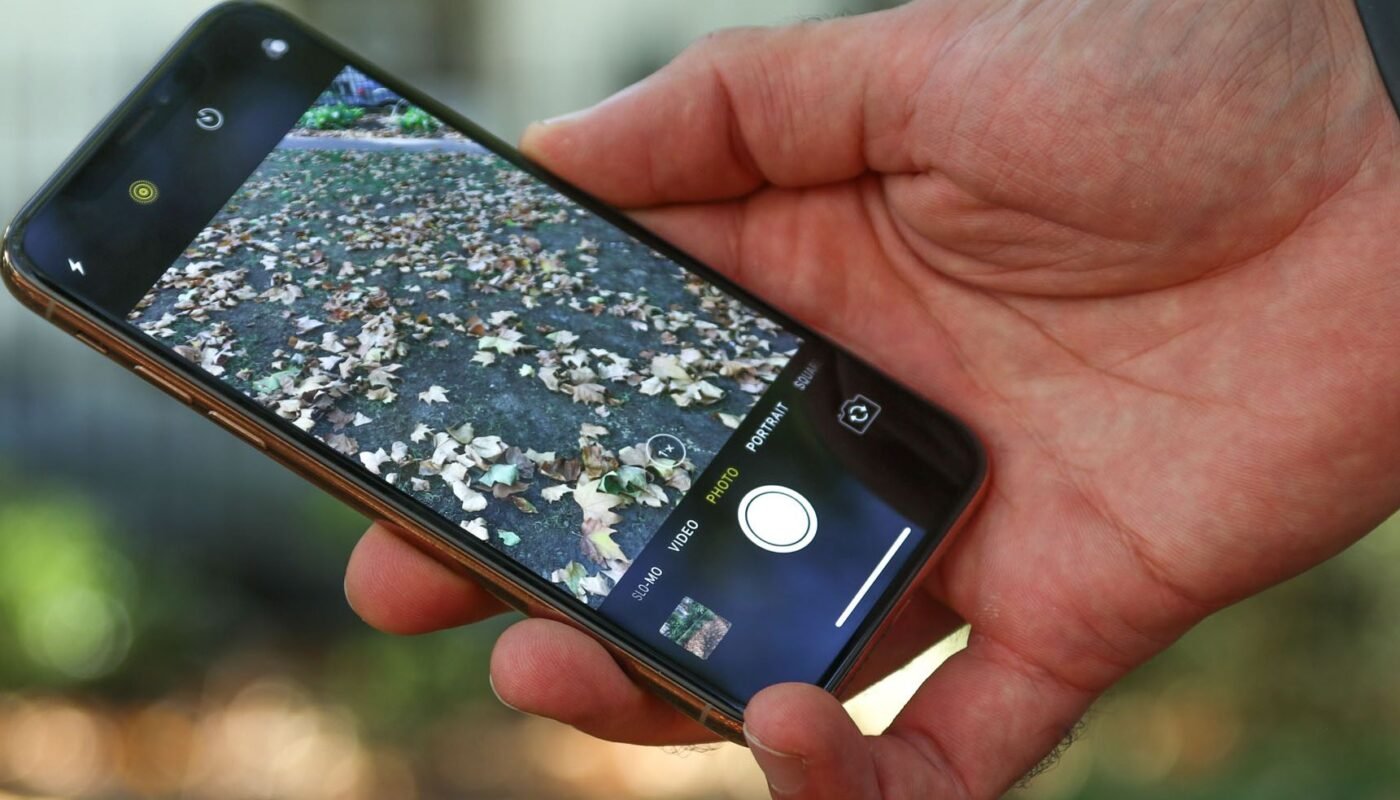
The iPhone, created by Apple Inc., has become one of the most powerful everyday cameras in the world. With advanced sensors, intelligent image processing, and multiple lenses, it allows anyone to capture professional-quality photos. However, great photography isn’t just about having a good camera—it’s about how you use it.
This comprehensive guide will walk you through the best iPhone camera tips to help you take stunning photos, whether you’re a beginner or someone looking to improve your skills.
1. Focus on Lighting First
Lighting is the single most important factor in photography. Even the best camera cannot fix poor lighting.
Best practices:
-
Use natural light whenever possible
-
Shoot during golden hour (shortly after sunrise or before sunset)
-
Avoid harsh midday sunlight that creates strong shadows
-
Position light in front of your subject, not behind
Soft, even lighting produces clearer, more attractive photos with better colors and detail.
2. Understand Your Camera Lenses
Modern iPhones come with multiple lenses:
-
Ultra-wide (0.5x) – for landscapes and large scenes
-
Wide (1x) – for everyday shots
-
Telephoto (2x/3x/5x) – for zoom and portraits
Each lens creates a different perspective. Choosing the right one can dramatically improve your photo.
3. Use the Rule of Thirds
Composition is what makes a photo visually appealing.
Turn on gridlines in your camera settings and:
-
Place your subject along the grid lines
-
Keep the horizon straight
-
Avoid placing everything in the center
This simple technique instantly makes photos look more professional.
4. Tap to Focus and Adjust Exposure
Many users ignore this powerful feature.
-
Tap your subject to focus
-
Slide up/down to adjust brightness
-
Hold to lock focus and exposure
This gives you more control over how your photo looks instead of relying on automatic settings.
5. Avoid Using Digital Zoom
Digital zoom reduces image quality because it crops the image.
Instead:
-
Move closer to your subject
-
Use optical zoom (telephoto lens)
This keeps your photos sharp and detailed.
6. Keep Your Lens Clean
A dirty lens can ruin your photos by making them look blurry or foggy.
-
Wipe your lens with a soft cloth regularly
-
Avoid touching the camera area with your fingers
This simple habit can instantly improve photo clarity.
7. Use Portrait Mode for Depth
Portrait Mode creates a blurred background (bokeh effect) that makes your subject stand out.
Tips:
-
Use good lighting
-
Keep proper distance from the subject
-
Avoid busy backgrounds
It’s perfect for people, pets, and even objects.
8. Try Night Mode in Low Light
Night Mode automatically activates in dark environments.
How to get the best results:
-
Hold your phone steady
-
Use a tripod if possible
-
Avoid moving subjects
This feature allows you to capture bright, detailed photos even at night.
9. Keep Your Hands Steady
Shaky hands are a common cause of blurry photos.
Solutions:
-
Use both hands
-
Lean against a surface
-
Use a tripod or stable object
Stability is key for sharp images.
10. Experiment with Angles and Perspectives
Don’t always shoot at eye level.
Try:
-
Low angles for dramatic shots
-
Top-down shots for food or objects
-
Close-ups for detail
Changing perspective adds creativity and uniqueness to your photos.
11. Use HDR for Balanced Photos
HDR (High Dynamic Range) helps balance bright and dark areas.
Use it when:
-
Shooting landscapes
-
Capturing bright skies
-
Taking photos with strong contrast
It ensures details are visible in both shadows and highlights.
12. Take Advantage of Burst Mode
Burst Mode captures multiple photos in seconds.
Perfect for:
-
Action shots
-
Moving subjects
-
Kids or pets
You can choose the best shot afterward.
13. Edit Your Photos
Editing can turn a good photo into a great one.
Use apps like:
-
Apple Photos
-
Adobe Lightroom Mobile
-
Snapseed
Adjust:
-
Brightness
-
Contrast
-
Saturation
-
Sharpness
Don’t over-edit—keep it natural.
14. Use Live Photos Creatively
Live Photos capture a few seconds before and after the shot.
You can:
-
Choose a better frame
-
Create long exposure effects
-
Capture motion
It adds flexibility and creativity to your photos.
15. Practice Consistently
The best way to improve photography is through practice.
Try:
-
Shooting in different lighting conditions
-
Experimenting with lenses
-
Practicing composition techniques
Over time, you’ll develop your own style and eye for detail.
Final Thoughts
Your iPhone is a powerful photography tool, but the real difference comes from how you use it. By mastering lighting, composition, and camera features, you can capture stunning photos without needing expensive equipment.
Great photography is a mix of technical skills and creativity. Learn the basics, experiment often, and don’t be afraid to try new ideas. With practice, your iPhone photos can look just as impressive as those taken with professional cameras.
If you want, I can also write a “Hidden iPhone Camera Tricks Most Users Don’t Know” or a step-by-step beginner photography course 📸